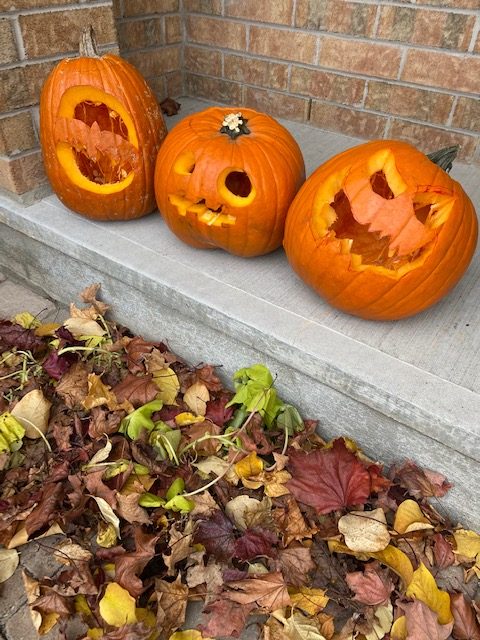
Halloween 2020
I wrote two articles about Halloween this year already. In one for Mom Resource, I highlighted a few suggestions to switch up the Halloween plans this year. This was written before Ottawa’s own…
A Pandemic Update (5 months in)
The pandemic continues and while some things have started to open up, we are still all trying to keep our distance from everyone who isn’t in our bubble and we are wearing masks…
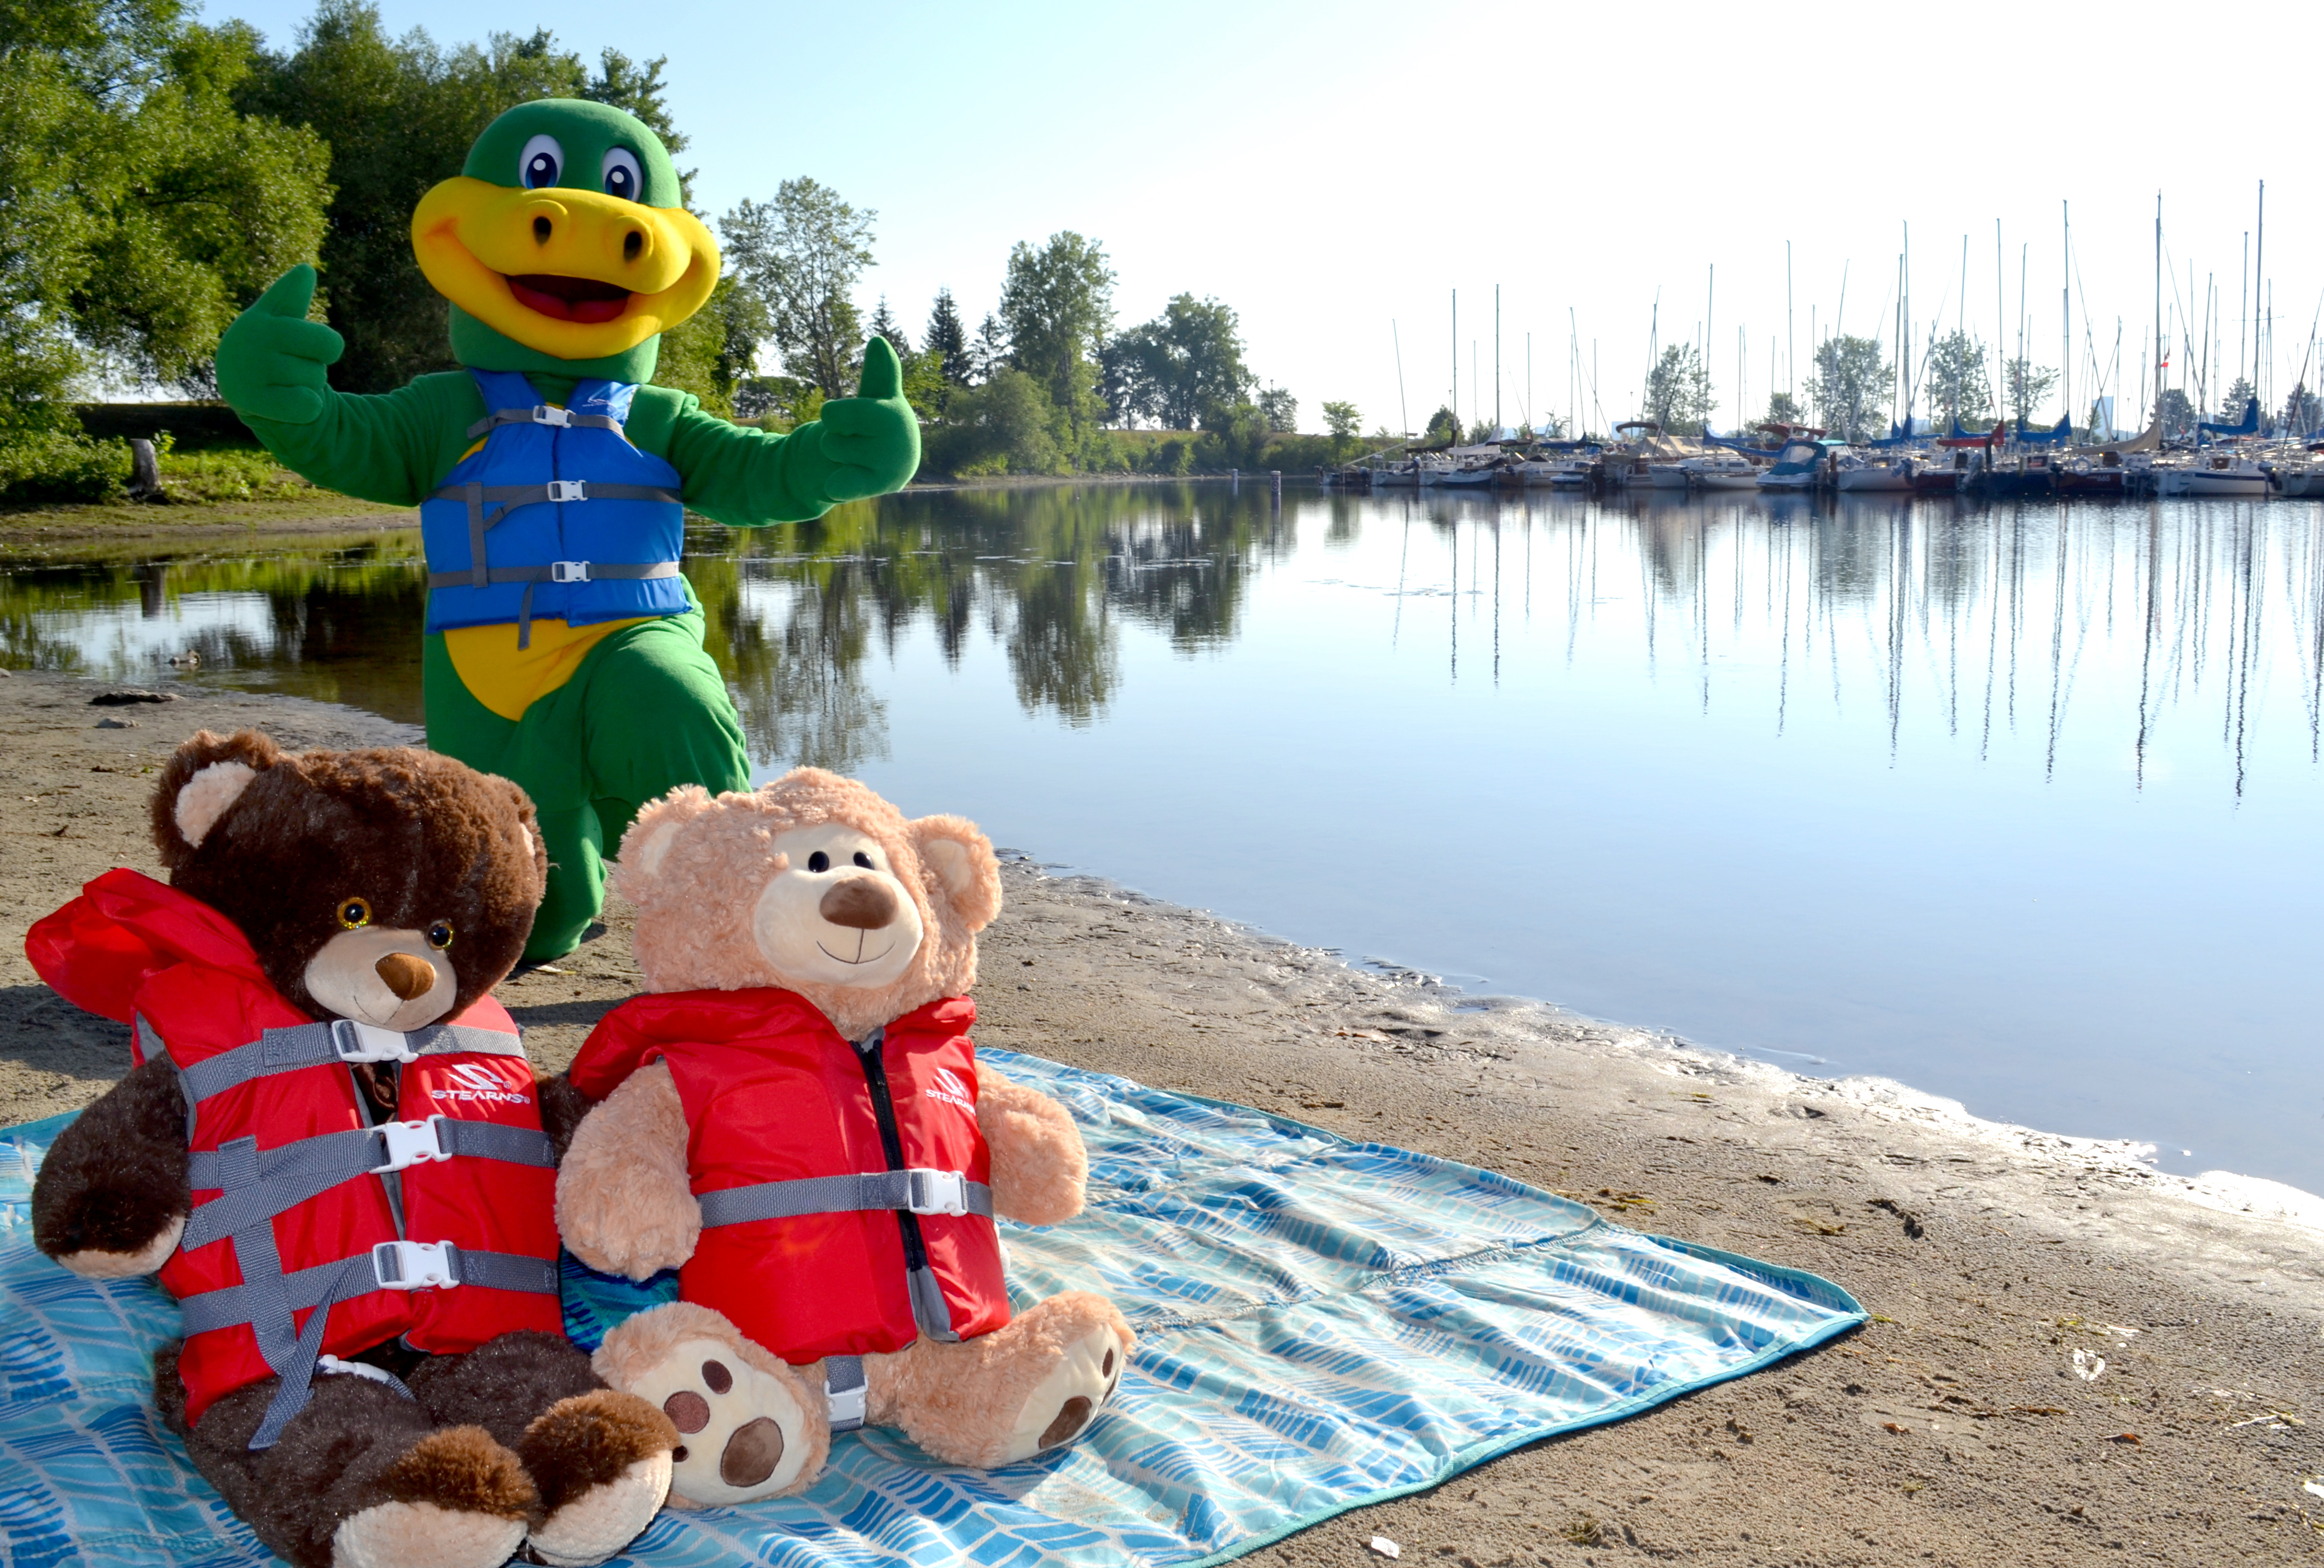
Drowning Prevention Week
It’s Drowning Prevention Week and the City of Ottawa is sharing important messaging and reminders for people to help keep them safe. This is not a typical year, and yet, many of us…
TV Shows to Watch with your Preteen (that you’ll like too!)
After the kids have outgrown the ‘younger’ TV show cartoons like Super Why! or Paw Patrol (for kids these days), you’ll eventually enter into this funny TV show age where they’ll want to…
Dexter can send you a virtual birthday message
Birthday celebrations in Ottawa have certainly looked different in the past few months, and even with some of the province opening back up birthday celebrations are still going to not be the same…
A Starting point: Race and Anti-Racism: Some resources for white parents
This past week I’ve been doing a lot of reading and listening regarding race and anti-racism and I wanted to also share with you some resources I’ve been reading. This is long overdue…
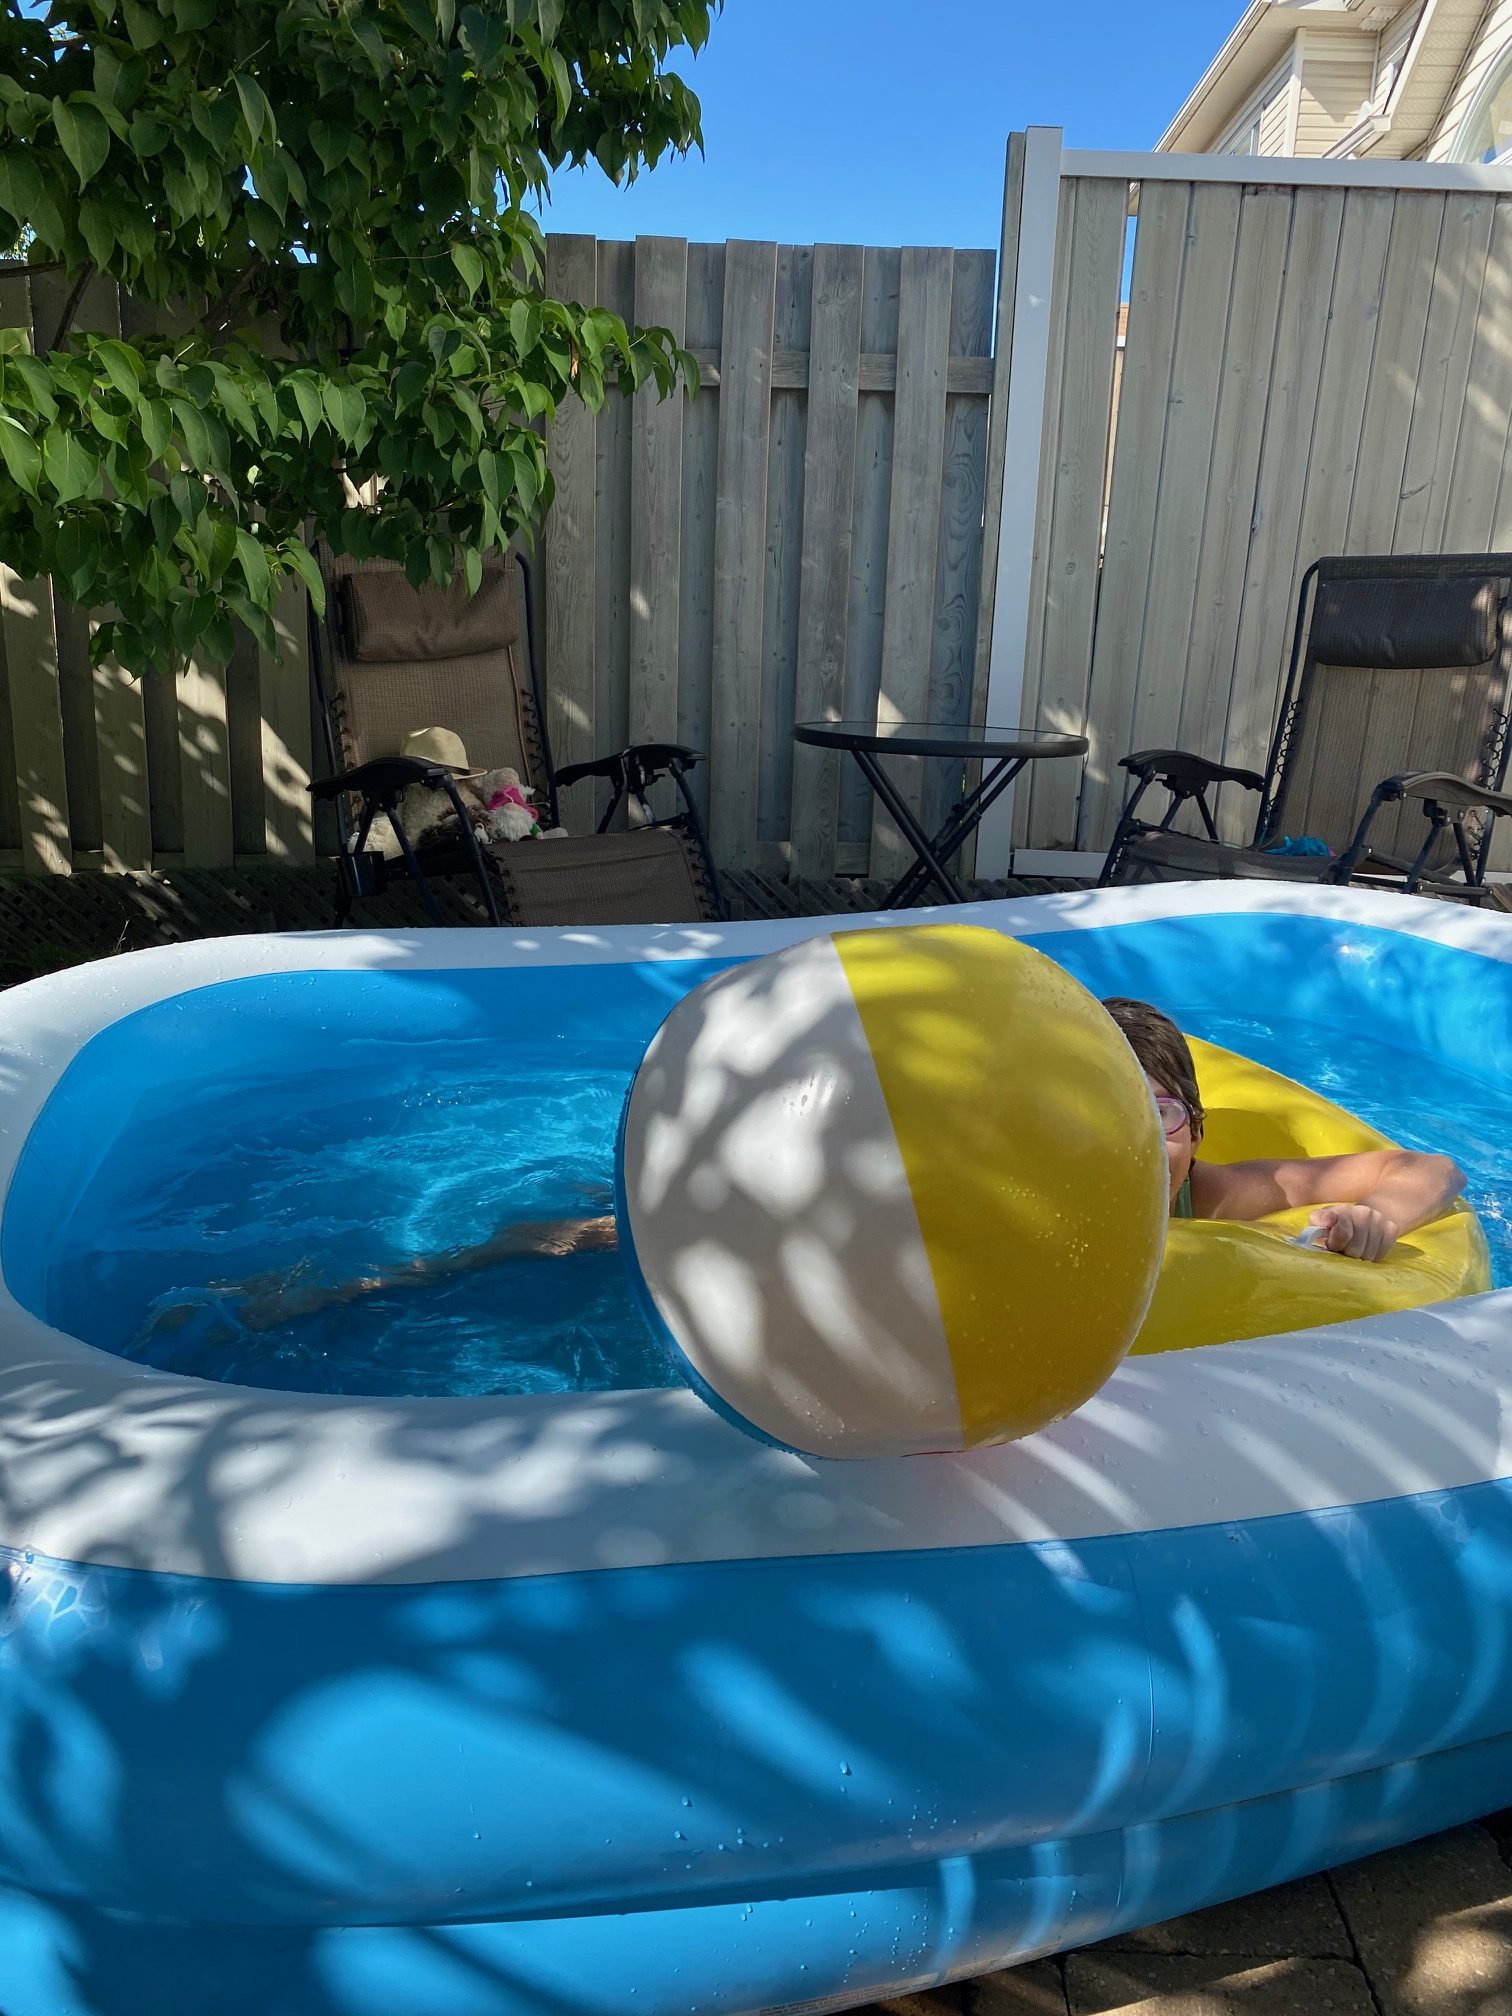
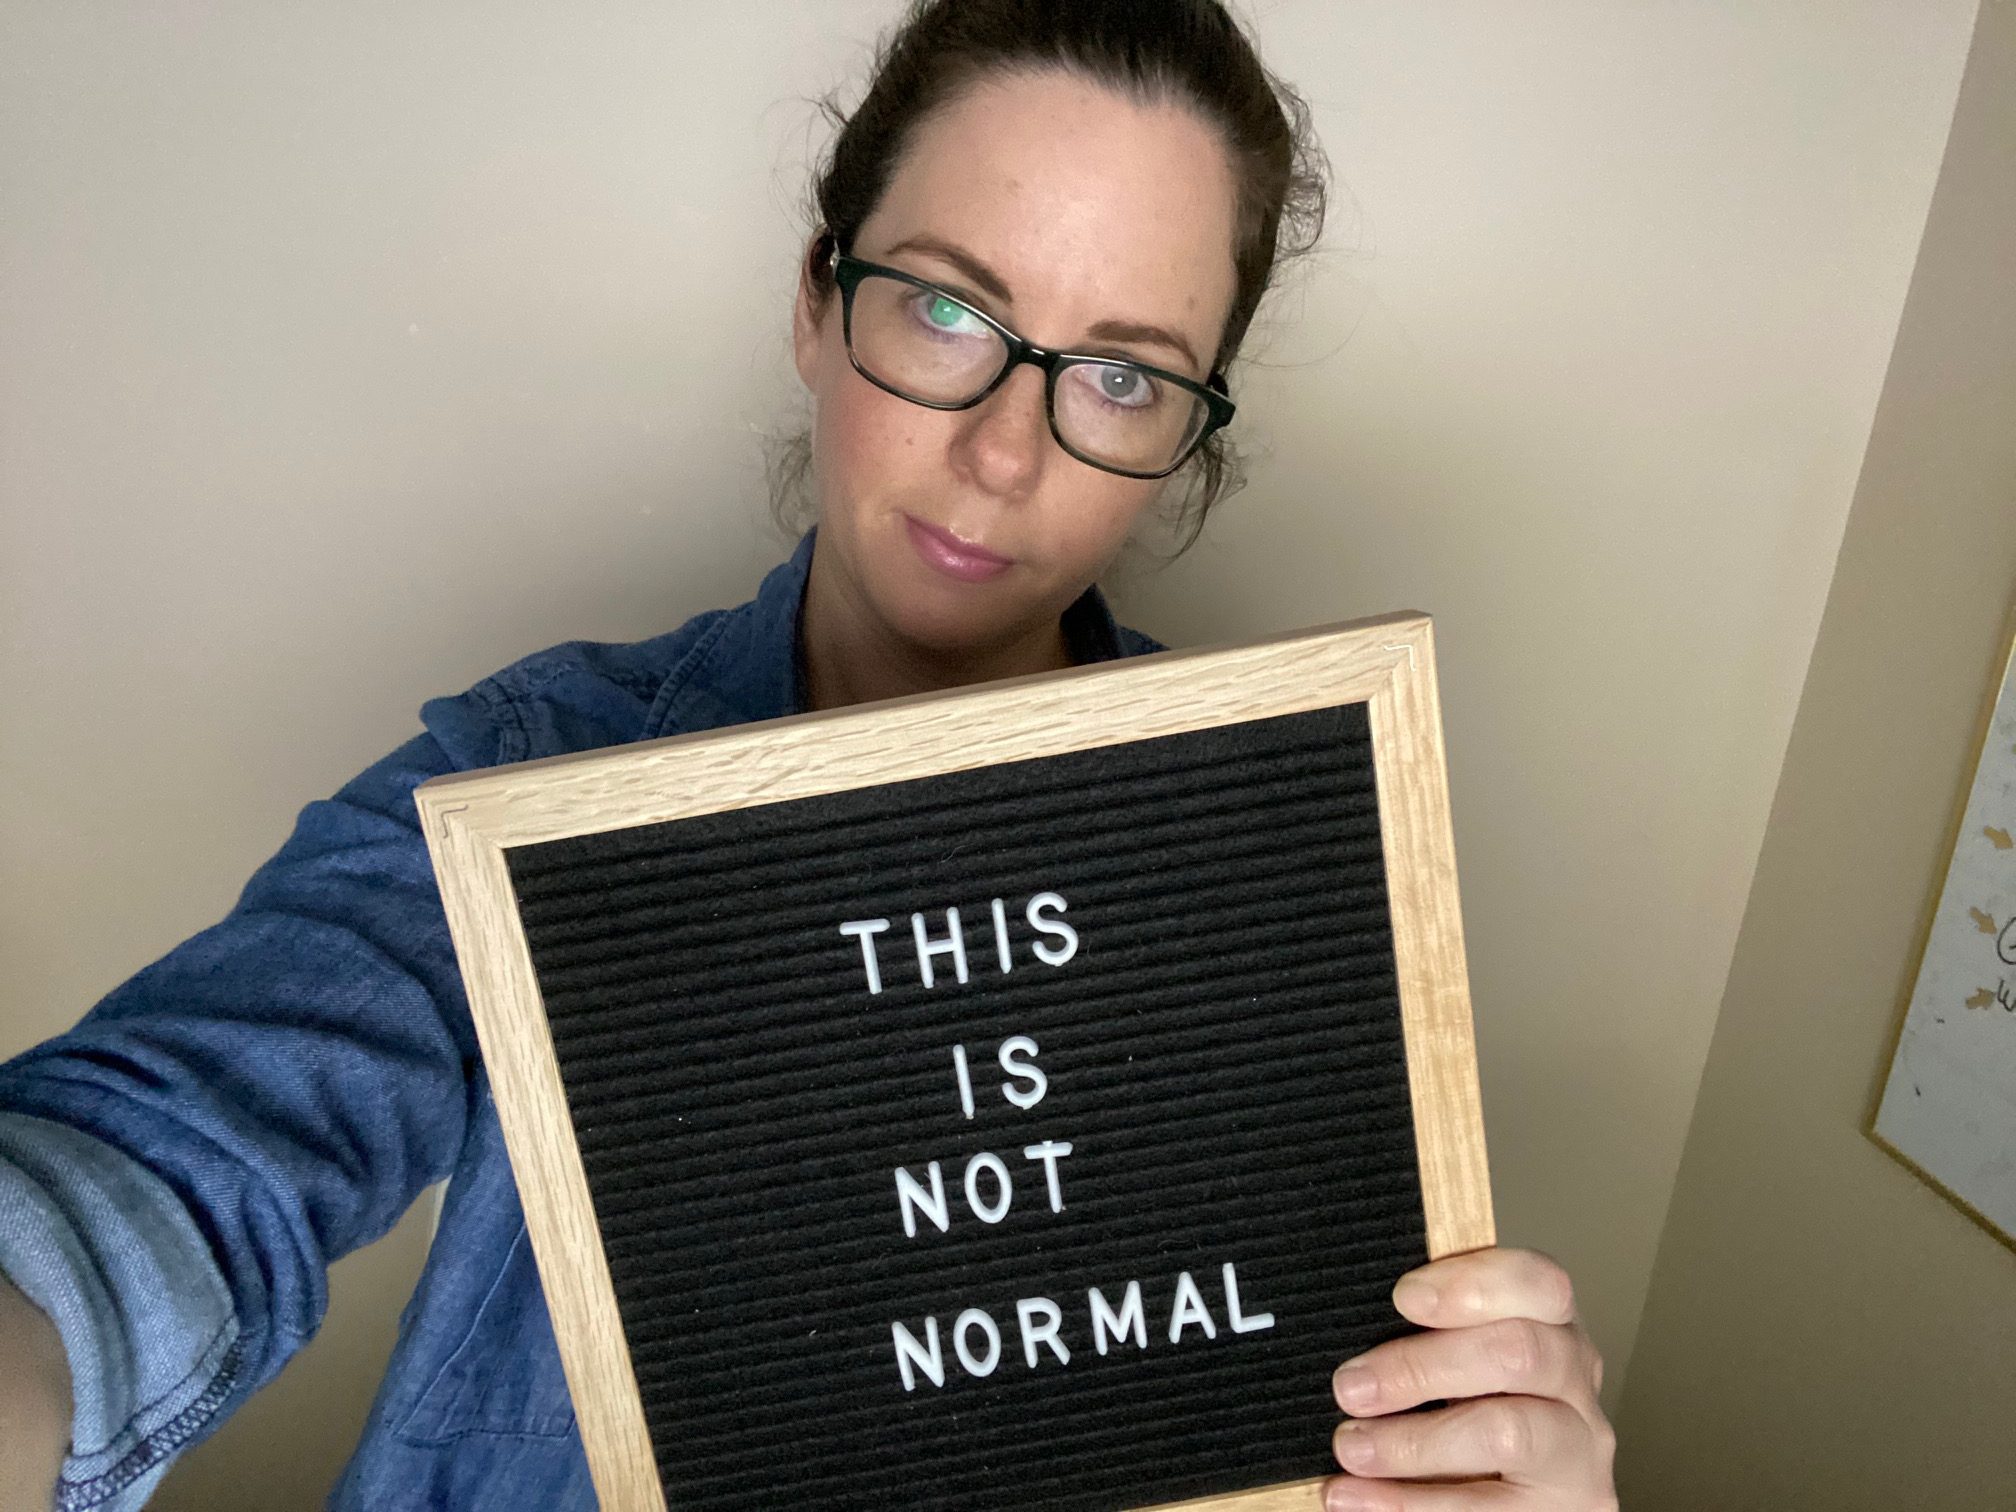
Isolation Diaries, now with more heat!
Ottawa had snow two weeks ago, and now it’s so hot we have a heat warning. This doesn’t feel all that abnormal in a way. We have the more bizarre weather. I don’t…
Important Conversations: Talking about Wills (and Willful)
Even before becoming a parent, I felt like adulthood was this strange mix of independence and heavy decision-making and conversations that you weren’t really privy to as a child. Then you become an…
Activity: Create an Art Gallery!
After taking the kids to the National Gallery of Canada, they have been even more engrossed with art and creating it. I am a huge fan of introducing art to the kids at…
Remember that time in Isolation?
We’ve been at home as a family since March 13 (I think we are in week 7?) and as a writer it’s a bit odd that I’ve taken over a month to write…